

By the time installation day is booked, the hard decisions are already made: the opening has been measured, the layout settled, and the glass made to those sizes. What remains is the day itself — and most customers have the same two questions about it. What actually happens, in what order? And when can I use the shower again? This article walks through the full sequence as it runs on the day: what is checked before anything is fixed, how the panels are dry-fitted and aligned, how the fixing and hardware go on, and why the silicone at the end sets a clock you should not jump. The service itself is set out on our shower glass installation page; this is the day, step by step.
At a glance
- The panels arrive made to size. Toughened glass cannot be cut or trimmed on site — the sizes come from the measurement, and installation day proves them, it doesn’t change them.
- Everything is checked before anything is fixed: panel sizes, edges, holes, and the hardware counted out in the finish ordered.
- Panels are dry-fitted first — offered up, gaps checked, the door’s swing proven — before a single fixing is final.
- Silicone goes on last, and it sets the schedule: as typical guidance, the shower stays out of use for around 24 hours while the sealant cures.
- A standard enclosure is usually fitted in a single visit — typically a few hours, longer for large or multi-panel work.
Before the team arrives
This is the short, day-of list only — preparing the room ahead of the earlier measurement visit is a separate job, covered elsewhere. For the installation itself, the team needs three things. A clear route in: panels travel one at a time, carried on edge, and they need an unobstructed path from the door to the bathroom, with anything fragile along that route moved aside. A clear bathroom: toiletries, towels and bath mats out of the shower area and off the surfaces around it, so the team is working on the room, not around your things. And someone at home who can answer a question if one comes up — most days run without any, but the handover checks at the end are worth being there for. Pets are best kept in another room for the day; panels on the move and open doors are a poor combination.
Delivery and panel checks
The glass arrives as finished panels, each one made to the measured sizes for your opening, with its hinge and handle holes already drilled — those holes are made before toughening, because toughened glass cannot be drilled or cut afterwards. Panels are carried in individually and stood safely on edge on protection, never laid flat and never leaned anywhere casual.
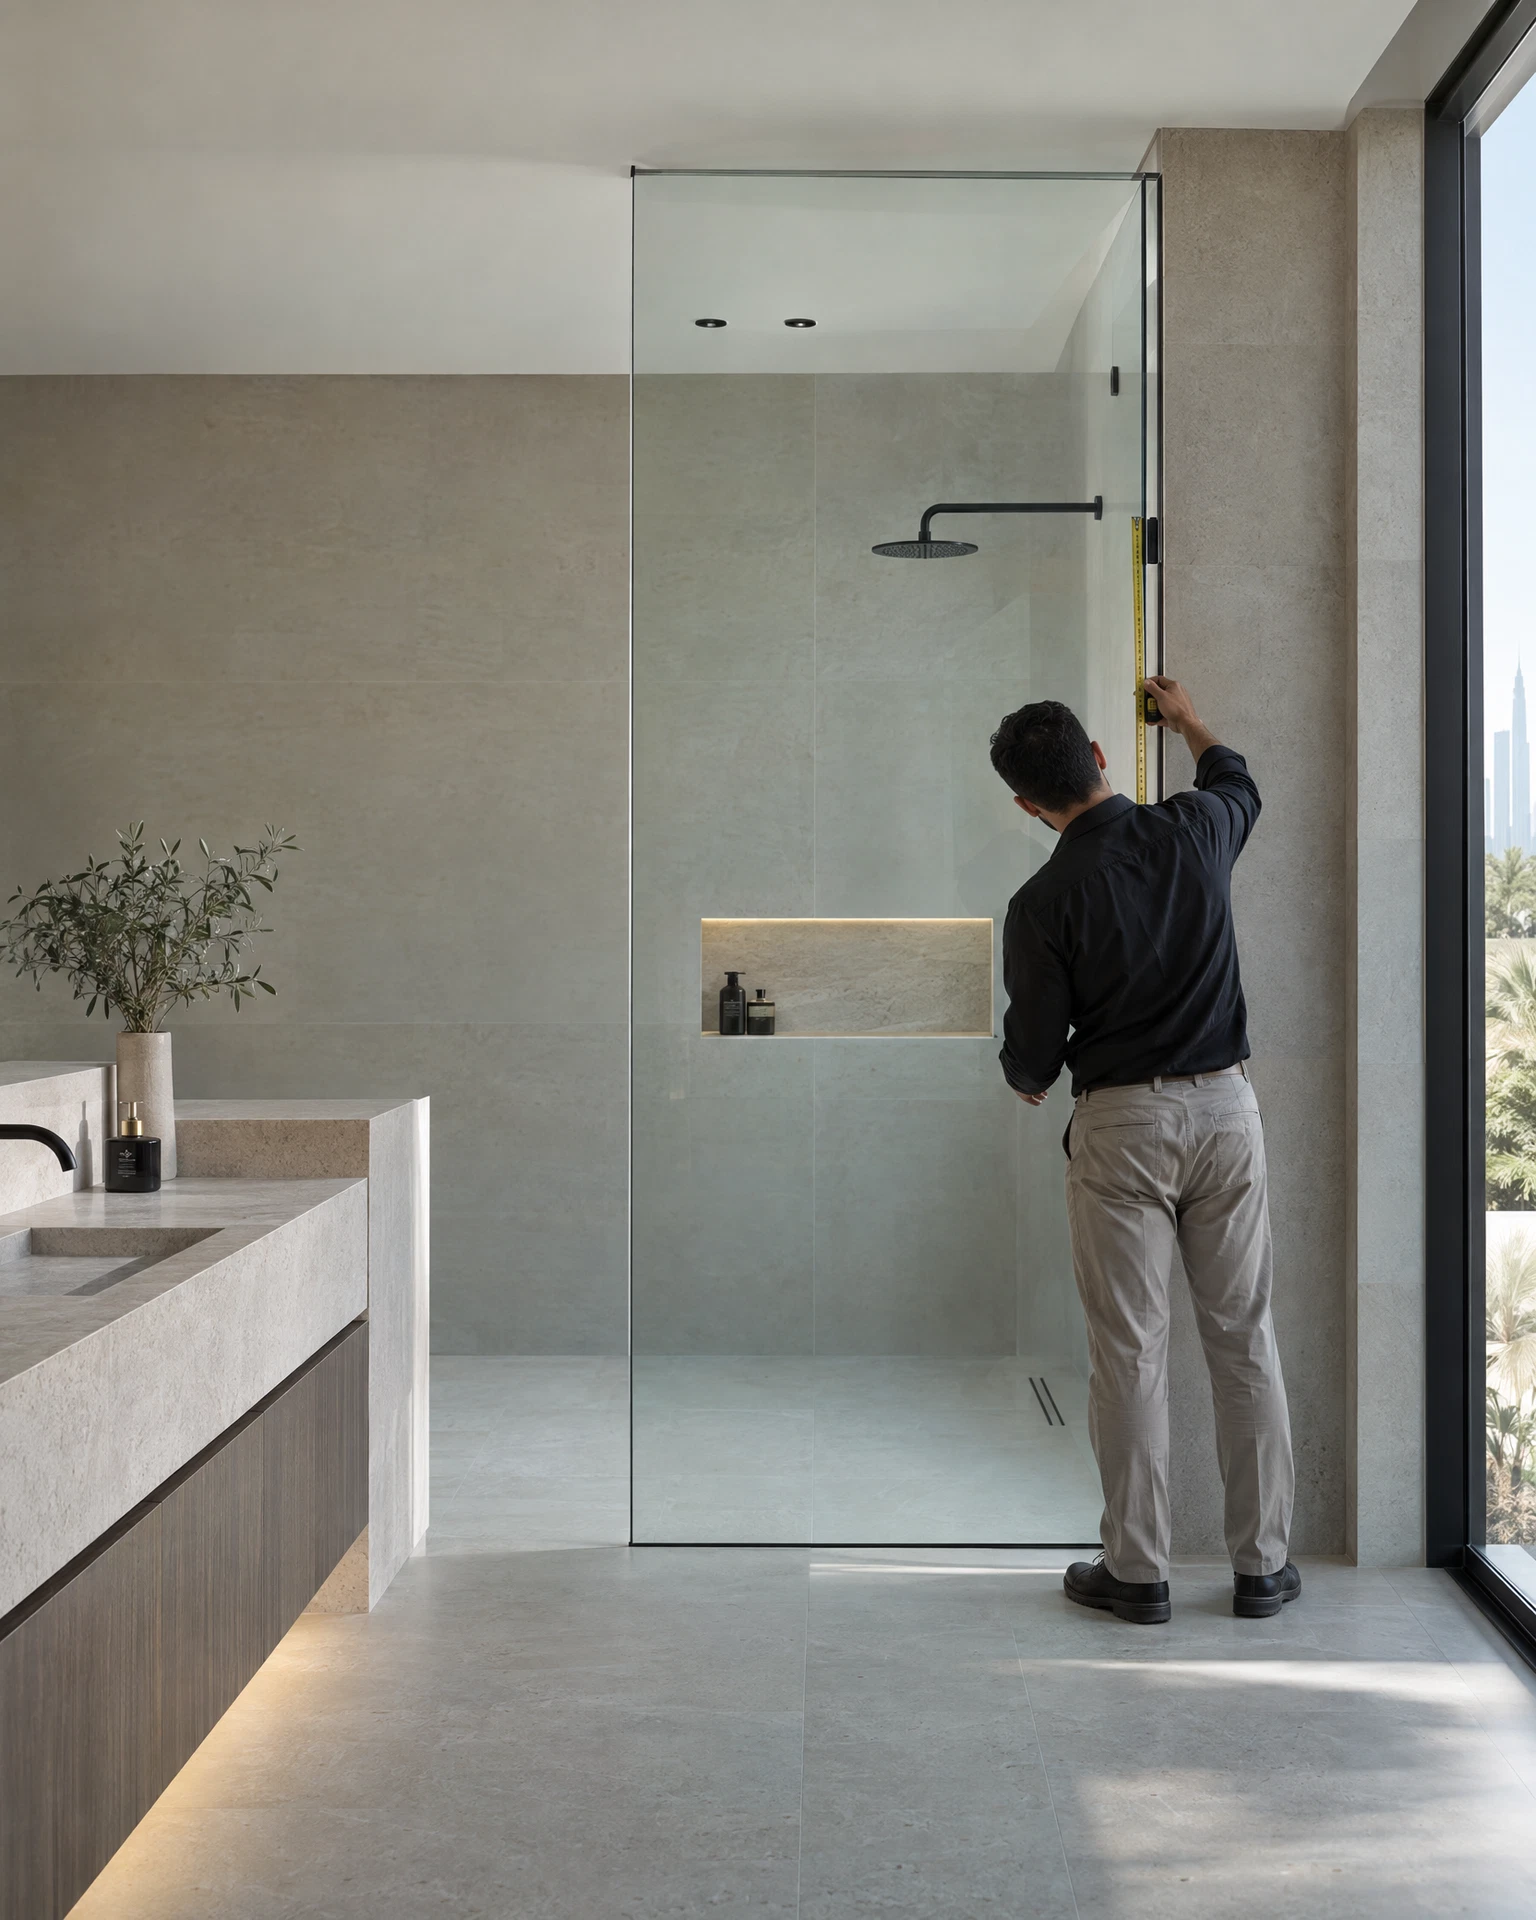
Then everything is checked, before a single fixing is touched. Each panel is measured against the opening it belongs to. Edges and corners are inspected for chips: toughened glass is at its most vulnerable at the edge, and a panel that has taken a knock in transit is not fitted “to see how it goes” — it goes back to be remade. Holes and notches are checked against the hardware they must meet. And the hardware is unboxed and counted: hinges, handle, channels or clamps, and seals, in the finish ordered — chrome, black or gold. This is the calm moment to find a problem. A wrong panel or a missing hinge discovered now costs a conversation; discovered halfway through fixing, it costs the day.
Dry-fit and alignment
Before any sealant or final fixing, the panels are offered up dry — held or clamped in position exactly where they will live, so the fit can be judged honestly. This is where the measured truth of the room shows itself: a wall that runs out of plumb appears as a tapered gap, and the dry-fit confirms the allowances made for it at measurement are doing their job.
The door is hung in its dry position and swung: it must travel freely, clear the tray or bath edge, the basin and anything else in its arc, and arrive square at its closing edge. Gaps are checked along every edge — even at the top and bottom of the door, even where fixed panels meet the wall. Adjustments belong here, in the dry state, where a panel can still be moved by millimetres without consequence. Once silicone is applied, the clock is running and every change is messier, so a careful installation spends its patience at this stage, not after it.
Fixing and hardware
With the dry-fit proven, the fixing begins. Channels or clamps are fixed to the wall and floor — this is the drilling stage, into tile and wall at the positions the layout demands, with the dust local and contained. Panels are set into their channels or onto their clamps and secured, with gaskets isolating the glass from metal at every contact point.
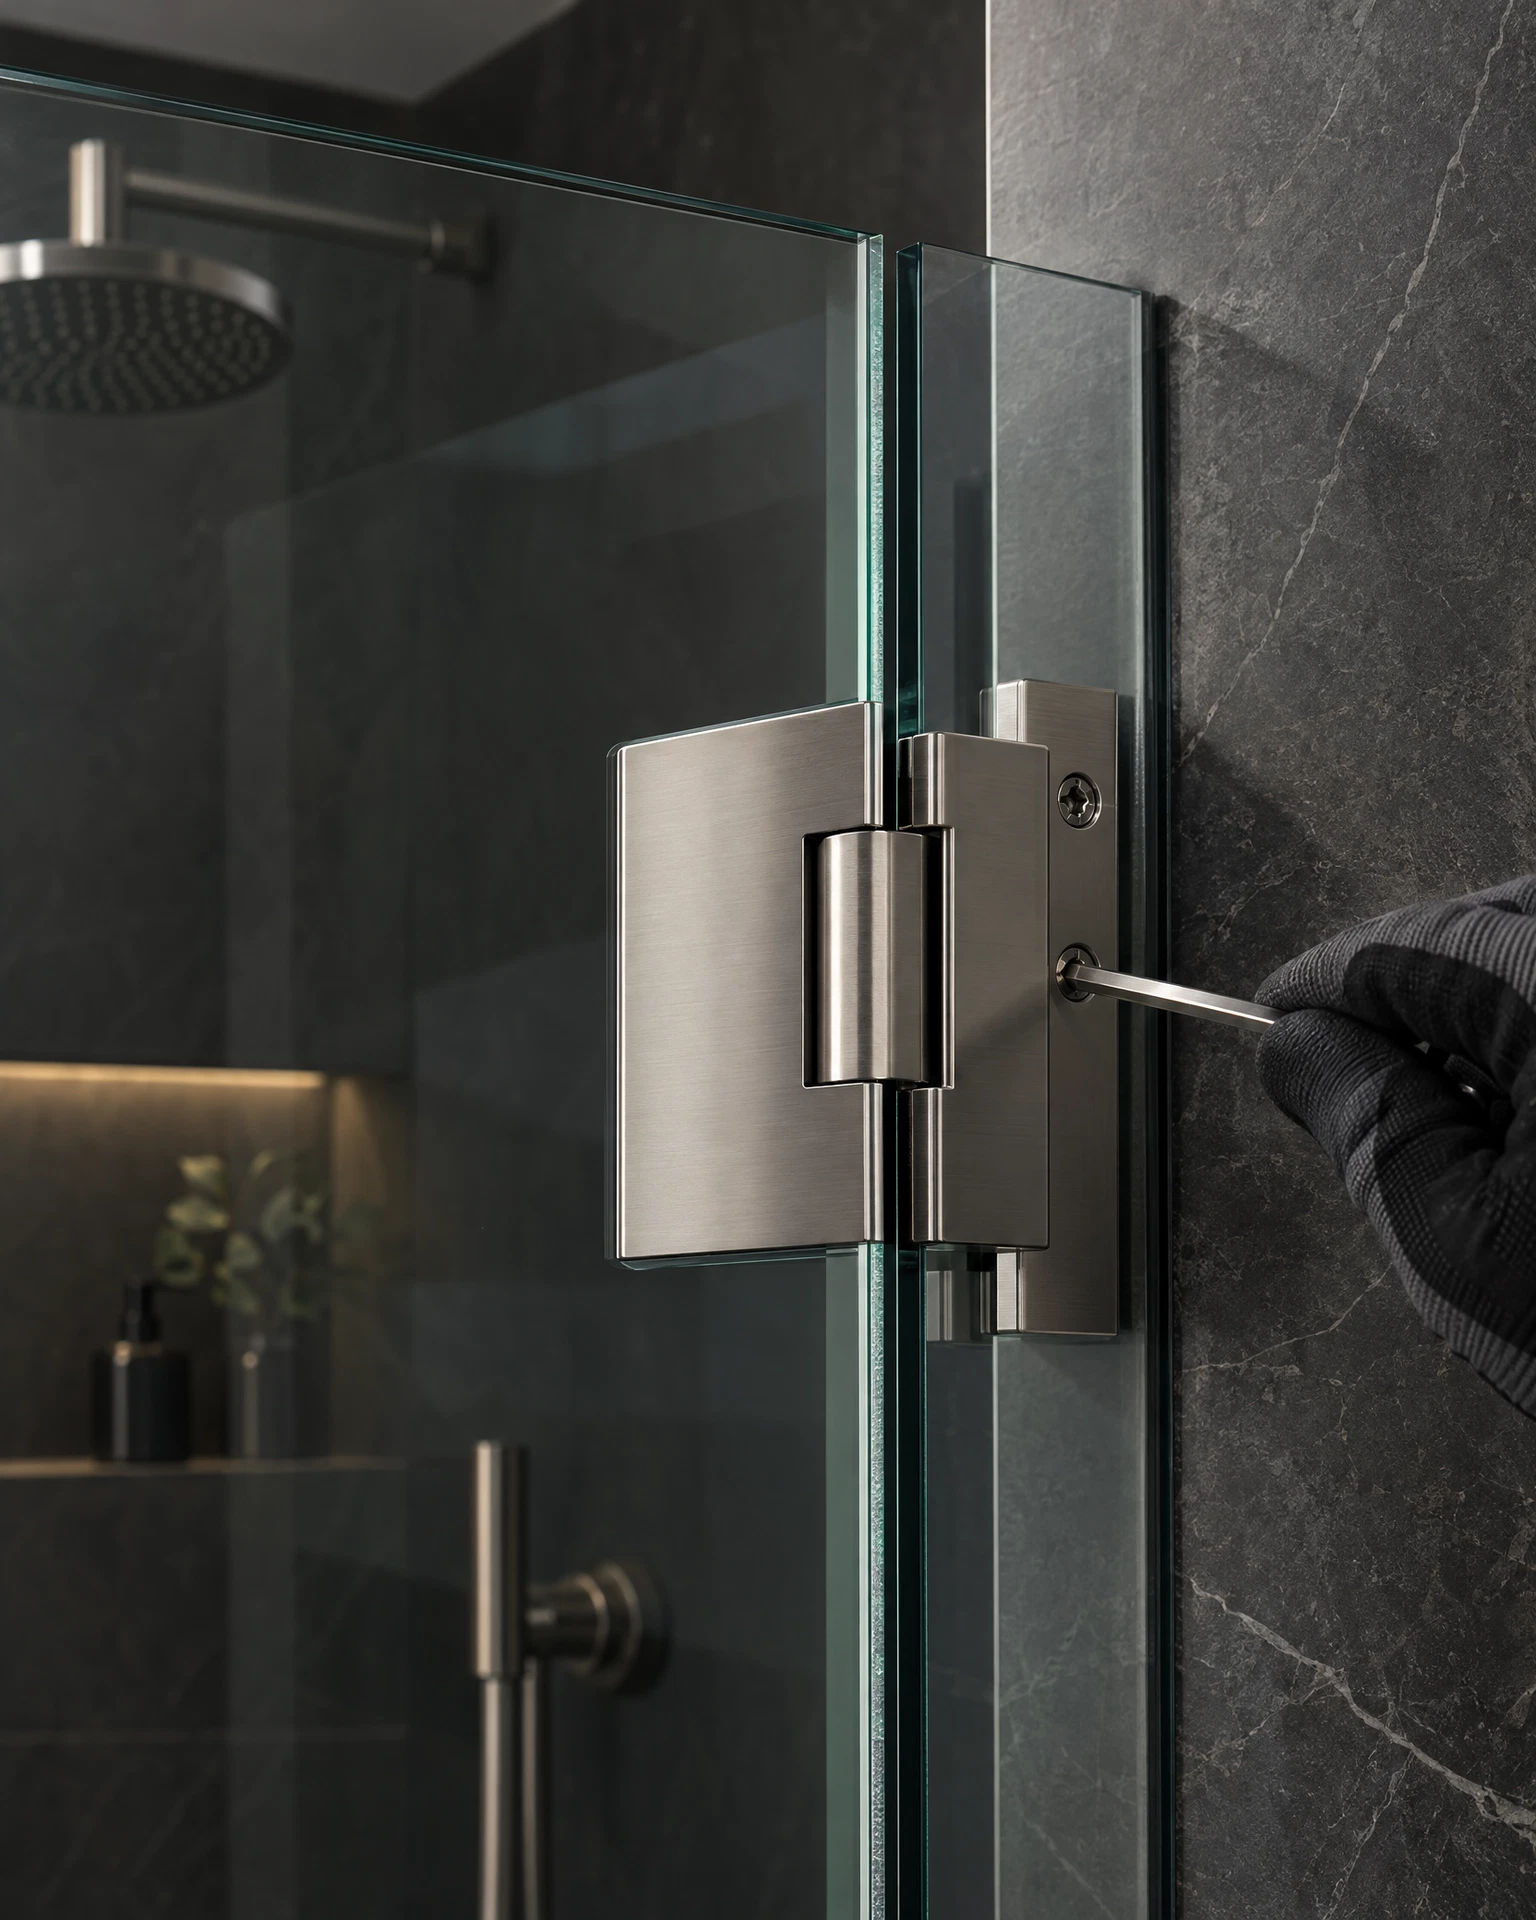
The door goes on its hinges next, and it is never left hanging on one hinge while the other is worked on — a 10mm glass door is heavy, and hanging and adjusting it is two-person work. The hinges are set and then adjusted in small turns: the door brought to even gaps all round, closing onto its seals along its full height, the magnetic strips meeting and taking hold as they should. The handle is fitted through its drilled holes, gaskets both sides, its fixings snugged down evenly — firm, never forced, because fixings through glass are tightened to a feel, not to a maximum. The door is swung and closed repeatedly. A door that does not close truly at this stage does not get sealed and left; it gets adjusted until it does.
Sealing and cure: when you can shower again
Sealing is the last wet trade of the day. Silicone is applied at the joints the design calls for — typically along the outside of fixed-panel joints and wall channels — and tooled smooth. The side matters: sealing is placed so that water landing inside the shower drains back into the tray, not so that it is trapped inside a channel. Sealant on the wrong side of a joint looks identical on the day and causes trouble for years, which is why the sealing pattern follows the design rather than enthusiasm with the gun.
Then the cure — and this is the answer to the second question everyone asks. Silicone skins over quickly, within the hour, and looks finished long before it is. Underneath the skin it is still curing, and water driven at it too early breaks the bond it is forming with the glass and the tile. As typical guidance, the shower stays unused for around 24 hours after sealing; the installer’s instruction on the day is the one to follow, because products and conditions vary. During the cure, treat the installation gently: don’t swing the door more than you must, don’t hang towels over the new glass, and resist the test shower. One dry day is what buys you seals that hold for years.
The final checks and handover
Before the team leaves, the installation is walked through with you. The door is opened and closed several times — it should pull itself in over the last few centimetres, hold without drifting, and show an even seal line. Gaps are eyeballed against the light. The hardware finish, the handle, the seals — all checked against what was ordered. The glass is cleaned down and the room left as it was found, apart from the shower.
Two habits are worth starting from the first use: a squeegee down the glass after showering, which keeps scale — heavy in UAE water — from building up on the glass and seals; and nothing abrasive on the glass or the hardware finishes. And one honest note: the first proper water test is your first shower after the cure, not the installation day itself. If a joint weeps once the seals have cured, that is a call-back to make — fresh silicone dabbed over a leaking joint by anyone is a patch, not a fix, and the joint deserves to be looked at properly.
Frequently asked questions
How long does installation day take?
For a standard single enclosure, typically a few hours within one visit — checks, dry-fit, fixing and sealing in sequence. Large, multi-panel or double-door installations take longer, and the honest variable is the room: true walls and a straightforward layout run quicker than an out-of-square room that needs its allowances worked through at the dry-fit.
Can I use the shower the same evening?
No — and this is the one instruction worth planning around. The silicone needs its cure time, typically around 24 hours, before water is driven at the seals. A shower taken the same evening risks breaking the seal bond while it forms, which trades one night’s convenience for seals that weep early. Arrange the day so another shower is available, or so the timing works.
Will the installers drill into my tiles?
Yes, at the fixing points — channels, clamps and hinges fix into the wall and floor, and on a tiled bathroom that means drilling tile. The positions are set by the layout, the drilling is local, and the dust is contained and cleaned as part of the job. If a tile cracks around a fixing, you will be shown it on the day, not discover it later.
What happens if a panel arrives wrong or damaged?
It is not fitted. A panel with a chipped edge or a wrong size goes back to be remade to the correct specification — toughened glass cannot be trimmed down or patched on site, and forcing a wrong panel into an opening builds a fault into the installation from day one. The checks at delivery exist precisely so this is caught before anything is fixed.
Do I need to be at home for the whole installation?
An adult should be there — for access at the start, for any question that comes up along the way, and for the handover checks at the end. You don’t need to watch the work; most customers get on with their day elsewhere in the house and come back for the walk-through.
Talk to us about booking an installation
If you are ready to book, or you want to talk through what installation day would look like in your bathroom, message us on WhatsApp on +971 52 443 2655 with photos of the bathroom and your rough opening sizes. Tell us your area — we install across Dubai, Sharjah, Abu Dhabi and Ras Al Khaimah — and we will take it from the measurement onward.
This guide is part of our Shower Glass Installation series. Back to the start of this series: Shower Glass Partition Types Explained: Frameless, Semi-Frameless and Framed →

