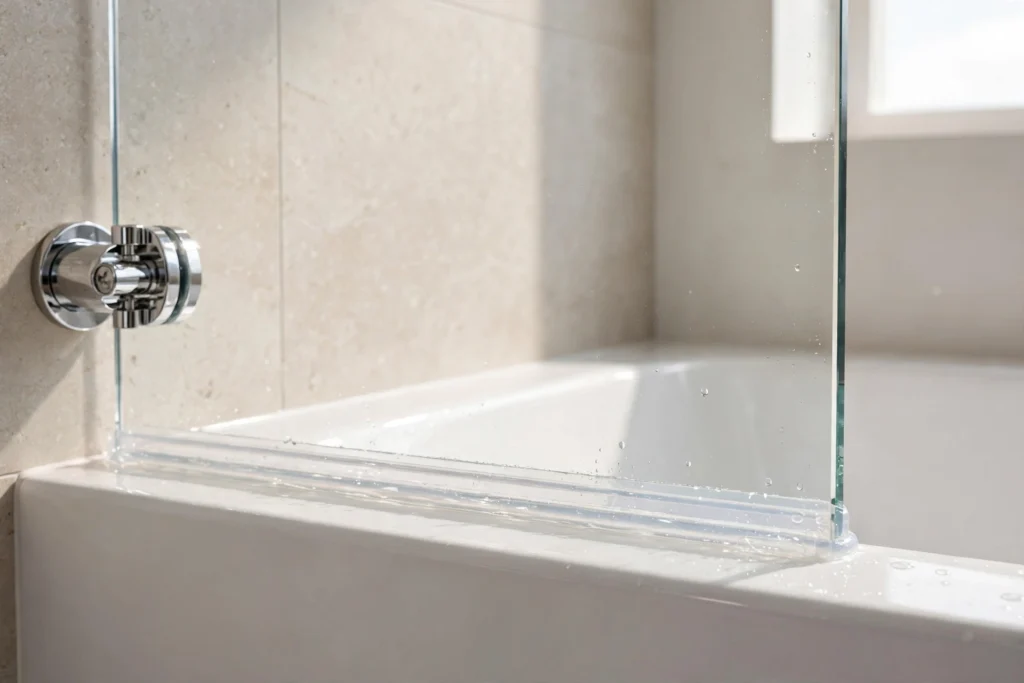
Water escaping under a shower door is the most common shower complaint we are called about — and the most commonly mis-fixed, because two different materials get blamed for each other’s failures. Seals and silicone are not the same thing and do not do the same job. Seals are shaped, flexible profiles fitted to the moving and meeting edges of the door; silicone is a sealant that belongs only in the fixed joints of the enclosure, where glass meets wall, frame or floor. A leaking door usually needs one of them renewed — occasionally both — and almost never needs silicone smeared where a seal belongs. This guide assumes the cause has already been pinned to the seals or the silicone — if you are still working out where the water escapes, start with the diagnosis in our guide to a shower door leaking at the bottom. Here, we cover which seals and silicone your door needs, how to match them, and how they are properly replaced.
At a glance
- Under the door = the seal’s job. The bottom sweep seal is the first suspect whenever water escapes beneath a closed door.
- Behind panels and along floors = silicone’s job. Water appearing away from the door line usually means a fixed joint has failed.
- The classic mistake: running silicone under a door or along its closing edge. It restricts the swing, tears within weeks, and fixes nothing.
- Seals are profiles, not strips: each is made for a glass thickness, a gap size and a specific edge of the door. Nearly right is wrong.
- Renewal is a method, not a swap: strip out, clean, renew — old silicone is cut out completely, never sealed over.
Two materials, two different jobs
Every line of a shower enclosure is closed by one of two things. Where parts move — the bottom of the door, its closing edge, the hinge side — the gap is closed by a seal: a flexible profile that compresses, flexes or sweeps, thousands of times over its life, and returns to shape. Where parts are fixed — a panel meeting the wall, a frame meeting the floor or tray, a channel joint — the gap is closed with sanitary silicone, a sealant that cures into a rubbery bead and is never meant to move again.
The repair is different in kind. A seal is unclipped or slid off and replaced with the correct profile. Silicone is cut out, the joint prepared, and a new bead applied. Confusing them produces the two failed fixes we meet most often: silicone run along a door’s bottom edge, where it fouls the swing and peels; and a door seal replaced three times while the actual fault — failed silicone behind the frame, letting water travel and emerge under the door — goes untouched.
The seal family: bottom sweep, fin, magnetic, vertical
The bottom sweep seal runs along the lower edge of the door and does the heaviest work. Its flexible fin touches the floor or threshold and sweeps water back inside as the door moves; many profiles add a drip channel that throws water off the glass before it reaches the floor line. This is the seal that stops water escaping under the door, and the first one to wear.
Vertical and fin seals run up the closing edge and the hinge edge of the door. The closing-edge seal compresses against the fixed panel or wall profile as the door shuts; hinge-side seals close the gap the pivot needs to move. When these harden or split, the leak appears at the sides — the pattern owners describe as leaking where the door closes.
Magnetic seals come in pairs, one on the door edge and one on the panel or frame it meets, and pull the door positively shut along its full height. They seal well and give a hinged door its clean, firm close — provided the door is hanging true. If the magnetic strips don’t line up, the magnets are rarely the problem; the door’s alignment is, and no new magnetic pair will hold a door that hangs out of square.
Fixed-panel seals and threshold profiles close the lines around fixed glass where a profile, rather than silicone alone, is the right detail — along the base of a panel or at a threshold.

Matching the profile to glass thickness and gap
A seal is specified by three things, and all three have to be right. The first is glass thickness: profiles are made for a specific thickness — a profile for thinner glass will not grip a 10mm door, and one for 10mm will jam or split on anything else. The doors and panels we fit are 10mm, and their seals are 10mm profiles. The second is the gap the seal must bridge: the distance between the glass edge and the floor, threshold or meeting panel it seals against. Too small a working range and the fin never touches; too large and the seal is over-compressed and wears fast. The third is the cross-section itself — the shape of the profile, which decides how it grips the glass and how its fin meets the surface. The end of the old seal is its identity: photograph the cross-section beside a ruler, measure the glass thickness and the gap, and the replacement can be matched exactly.
This is where most home seal replacements quietly fail. A seal that is nearly right will seal in the middle and leak at both ends, which is why “I already changed the seal and it still leaks” is a sentence we hear often. If the old seal is missing entirely, the glass thickness and gap measurements still narrow the choice down — send us the measurements and a photo of the door edge and we will identify the profile.
How seals fail
Seals live in the hardest conditions in the bathroom: standing water, soap residue, heat, and — in the UAE — hard-water scale that creeps into the flexible fin and stiffens it. A healthy seal is soft and springy and returns instantly when pressed. A failed one has flattened so its fin no longer reaches the floor, hardened until it holds a set instead of springing back, split at the ends where it flexes most, or shrunk slightly so gaps open at the corners. Any one of those is a renewal sign: seals are wear parts, and a seal that has lost its spring has lost its function even if it still looks complete, see also bath screen seals: where they leak and how it’s prevented.
Silicone: sanitary grades, and where they belong
Silicone’s territory is the fixed lines: panel to wall, frame to floor, the joints inside channels and profiles, and the external line where the enclosure meets the bathroom. The grade matters: sanitary silicone is formulated for bathrooms, with fungicidal protection against the mould that colonises ordinary sealant in permanent damp. It is the only type that belongs in an enclosure. In its territory it is excellent — but it still has a service life. It shrinks and cracks with age, it peels away from one face of the joint, it never truly bonds if it was applied over a damp or dirty joint, and mould eventually colonises the bead itself. Those black spots that resist every cleaner are not on the silicone; they are in it, and no surface treatment reaches them. Spotted through, peeling, or cracked means the bead comes out and is renewed — there is no coating that saves it.
The replacement method: strip out, clean, renew
For seals, the method is straightforward and is the most DIY-approachable work on the enclosure — with one condition: the replacement must be the exact profile, matched as above. Push-fit bottom seals slide or clip off the glass edge; clean the edge of scale and residue so the new profile grips along its whole length, and cut the new seal to the width of the door itself, not to the length of the old, stretched one. Press it home evenly and check the fin touches along the full width — contact in the middle and daylight at the ends means the profile or the door’s alignment is wrong, not that the seal needs forcing.
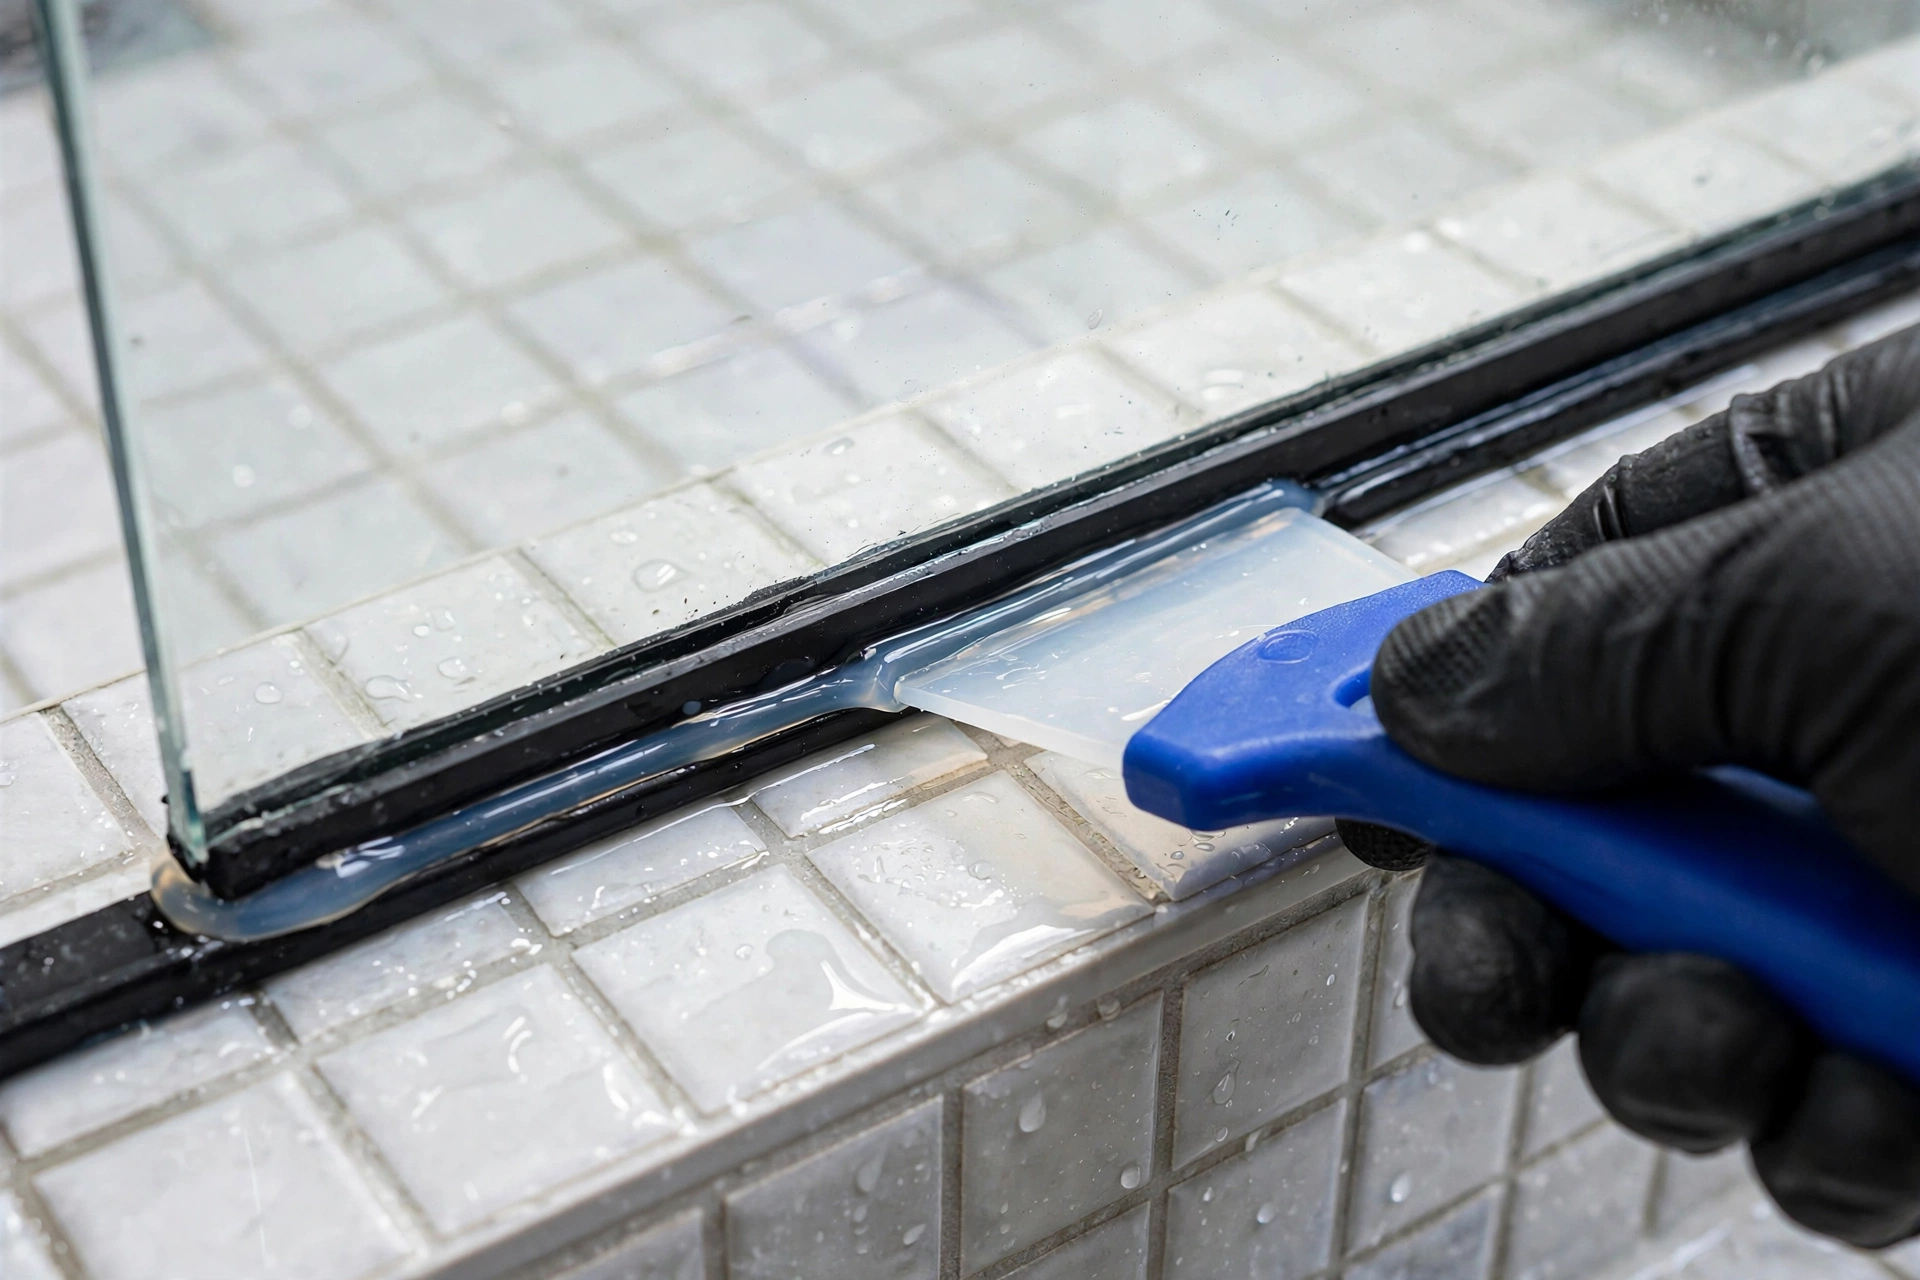
For silicone, the method has three non-negotiables. First, strip out: the old bead is cut out completely, every trace — new silicone does not bond reliably to old silicone, and a fresh bead over a failed one inherits the failure. Second, clean: the joint is cleaned of residue and left completely dry, because sealant applied to a damp joint peels within weeks. Third, renew: a fresh bead of sanitary silicone is applied to the prepared joint and tooled smooth in one pass. Skipping any of the three produces the familiar result — a neat-looking bead that lets go and traps moisture behind it.
Two finishing points of method. The bottom corner of the door is where everything converges — the sweep seal ends there, the vertical seal ends there, and the frame’s silicone line passes behind it — so a corner is renewed as one job: seals and the silicone line behind the corner together, not one at random across three visits. And seals are renewed on a door that hangs true: if the door has dropped on its hinges, the alignment is corrected first, because a new bottom seal on a dropped door is defeated at the same corner within months. That full sequence — alignment, seals, silicone, water test — is standard across our shower glass repair work, and it is why a reseal done in this order stays done.
What good looks like afterwards
A proper renewal is easy to recognise. Every seal touches along its full length with no daylight at the ends; the door closes with its even, firm pull and the magnetic strips meet along their whole height; the silicone beads are continuous, smooth and bonded on both faces of the joint, with no smears on the glass. And the job is proved, not assumed: the enclosure is water-tested at the door line and along the fixed lines — shower run at the door, floor outside checked dry — because a reseal you cannot test is a hope, not a repair.
Looking after seals and silicone
Seals and silicone last longer with unglamorous habits. Run a squeegee down the glass and across the door line after showering, so water and soap are not left sitting in the sweep seal. Leave the door ajar when the bathroom is not in use so the seals and silicone lines dry — mould needs permanent damp, and a ventilated enclosure denies it. Wipe the bottom seal now and then where scale builds, before the build-up stiffens the fin. And go easy with aggressive cleaners directly on seals and silicone: they age both materials faster than the water does. None of this makes seals immortal — a bottom sweep in a busy family bathroom works hard and will eventually flatten — but it stretches the interval between renewals considerably.
Replacing worn seals: bottom seals, side seals, water guards and gaskets
Most seal work is replacement, not repair: a seal that has hardened, flattened or split cannot be coaxed back, and the fix is a new seal of the right profile. The parts have names worth knowing when you describe the problem. The replacement seal for the bottom of the shower door is the one that sweeps the floor or threshold as the door closes. A shower screen side seal runs down the closing edge and meets the wall or the fixed panel. A shower door water guard replacement usually means the deflector strip that throws water back into the tray. And a hinge gasket replacement concerns the small gaskets that sit between hinge and glass, cushioning the fixing. Two things decide whether a new seal cures the leak: the profile must match the glass thickness and the original section — a near-enough seal gaps at the corners — and the door itself must close square. If the door has dropped or the glass has moved, a new seal on a crooked door still leaks; that is alignment work first, seals second.
Frequently asked questions
Why is water still escaping under the door with a brand-new seal?
Two usual reasons. The profile is wrong for your glass thickness or gap — it seals in the middle and stands open at the ends. Or the door has dropped on its hinges, so one corner’s gap is now bigger than any correct seal is designed to bridge; the seal is being blamed for an alignment fault. Check the gap along the door: if it tapers, the hinges need attention before the next seal.
Can I run silicone under the door instead of replacing the seal?
No. The bottom of the door is a moving joint — it sweeps open and closed — and silicone is made for joints that never move. A bead there fouls the swing, tears ragged within weeks, looks worse than the leak, and peels away taking its waterproofing with it. The bottom edge needs the correct sweep seal; silicone belongs in the fixed lines only.
The black spots in my silicone won’t scrub off. Why not?
Because the mould is growing inside the bead, not sitting on its surface — cleaners reach the surface only. Once silicone is spotted through, the fix is the full method: cut the bead out completely, clean and dry the joint, and reseal with sanitary silicone. It is also a hint to look at ventilation and drying: mould colonises silicone that stays permanently damp.
How do I know which seal profile my door needs?
By the cross-section of the old seal, the thickness of the glass — the doors and panels we fit are 10mm — and the gap the seal must bridge. Photograph the end profile of the existing seal next to a ruler and measure the door width; that identifies most seals. If the old seal is missing entirely, the gap and glass thickness still narrow it down — send us the photos and we will identify it.
How long do shower door seals last?
In a busy UAE family bathroom, a bottom sweep typically hardens and flattens within a few years — hard-water scale and constant flexing see to that. Verticals and magnetics, which work less hard, last longer. A seal that has gone stiff, split at the ends, or no longer springs back when pressed is at the end of its life even if it looks complete.
Do you reseal showers across Dubai, Sharjah, Abu Dhabi and Ras Al Khaimah?
Yes — reseals, seal replacement and the alignment work behind them are core parts of our repair work across the four emirates we cover. A photo of the seal and the leaking line on WhatsApp is the fastest start: we can usually tell from the photo whether you need a seal, a silicone line, or the door re-hung first.
Talk to us about the leak under your door
If water is escaping under your shower door, message us on WhatsApp on 052 443 2655 with a photo of the door, a close-up of the bottom seal, and a note of where the water appears. We will tell you honestly whether it is the seal, the silicone, or the door’s alignment — and what fixing it properly involves — before you commit to anything.
This guide is part of our Shower Glass Repair series. Next: Shower Door Maintenance: The Small Checks That Prevent Big Repairs →