
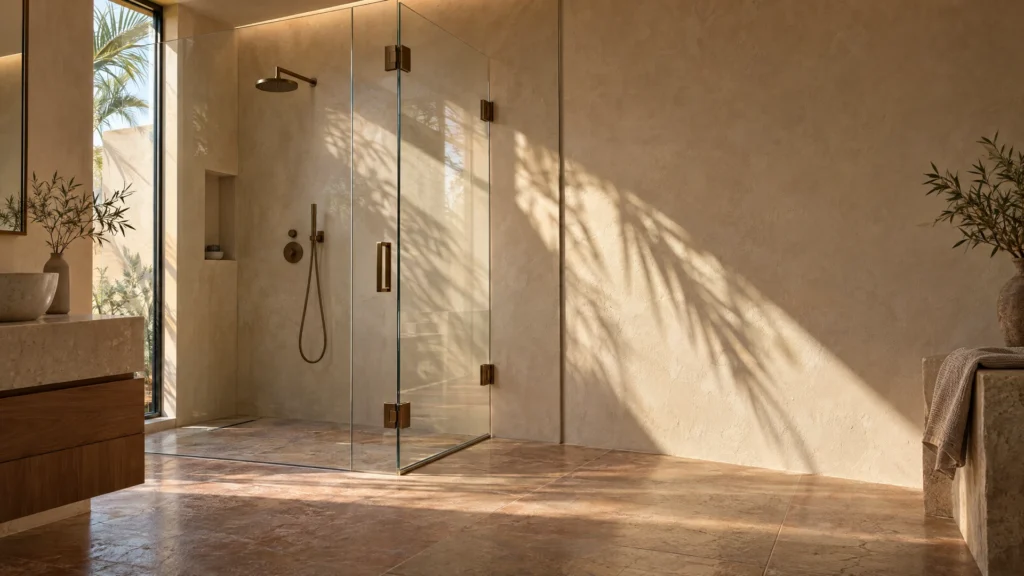
A multi-sided enclosure is mostly decided before anyone chooses a hinge. Get the layout right — where the entry sits, which way the door moves, how the panels sequence around the corner — and almost any well-made system will work. Get it wrong and the enclosure fights the room every day: a door that cannot open past the basin, an entry placed where the spray fires straight at the seals, fixed panels sequenced so the door hangs off the weakest piece of glass in the build. This article is the layout layer of corner, L-shaped and 3-sided enclosures: how to plan them from the room outward. The construction types are covered in our guide to shower glass partition types, the system-level detail belongs with hinged shower glass doors and sliding shower glass doors respectively, and the installations themselves are set out on our shower glass installation page.
At a glance
- Start from the room’s fixed points — basin, WC, the bathroom’s own door — because the enclosure has to fit around them, not the other way round.
- The entry position decides daily life: where you step out, where the towel and mat live, and whether the door’s swing has anywhere to go.
- A hinged door needs its whole arc, forever: check the swing against the basin and WC before the layout is fixed, not after the glass is made.
- Panels are sequenced for strength: fixed glass first, braced at the corner, and the door hung from the soundest fixing available — never off an unbraced panel.
Start from the room, not the enclosure
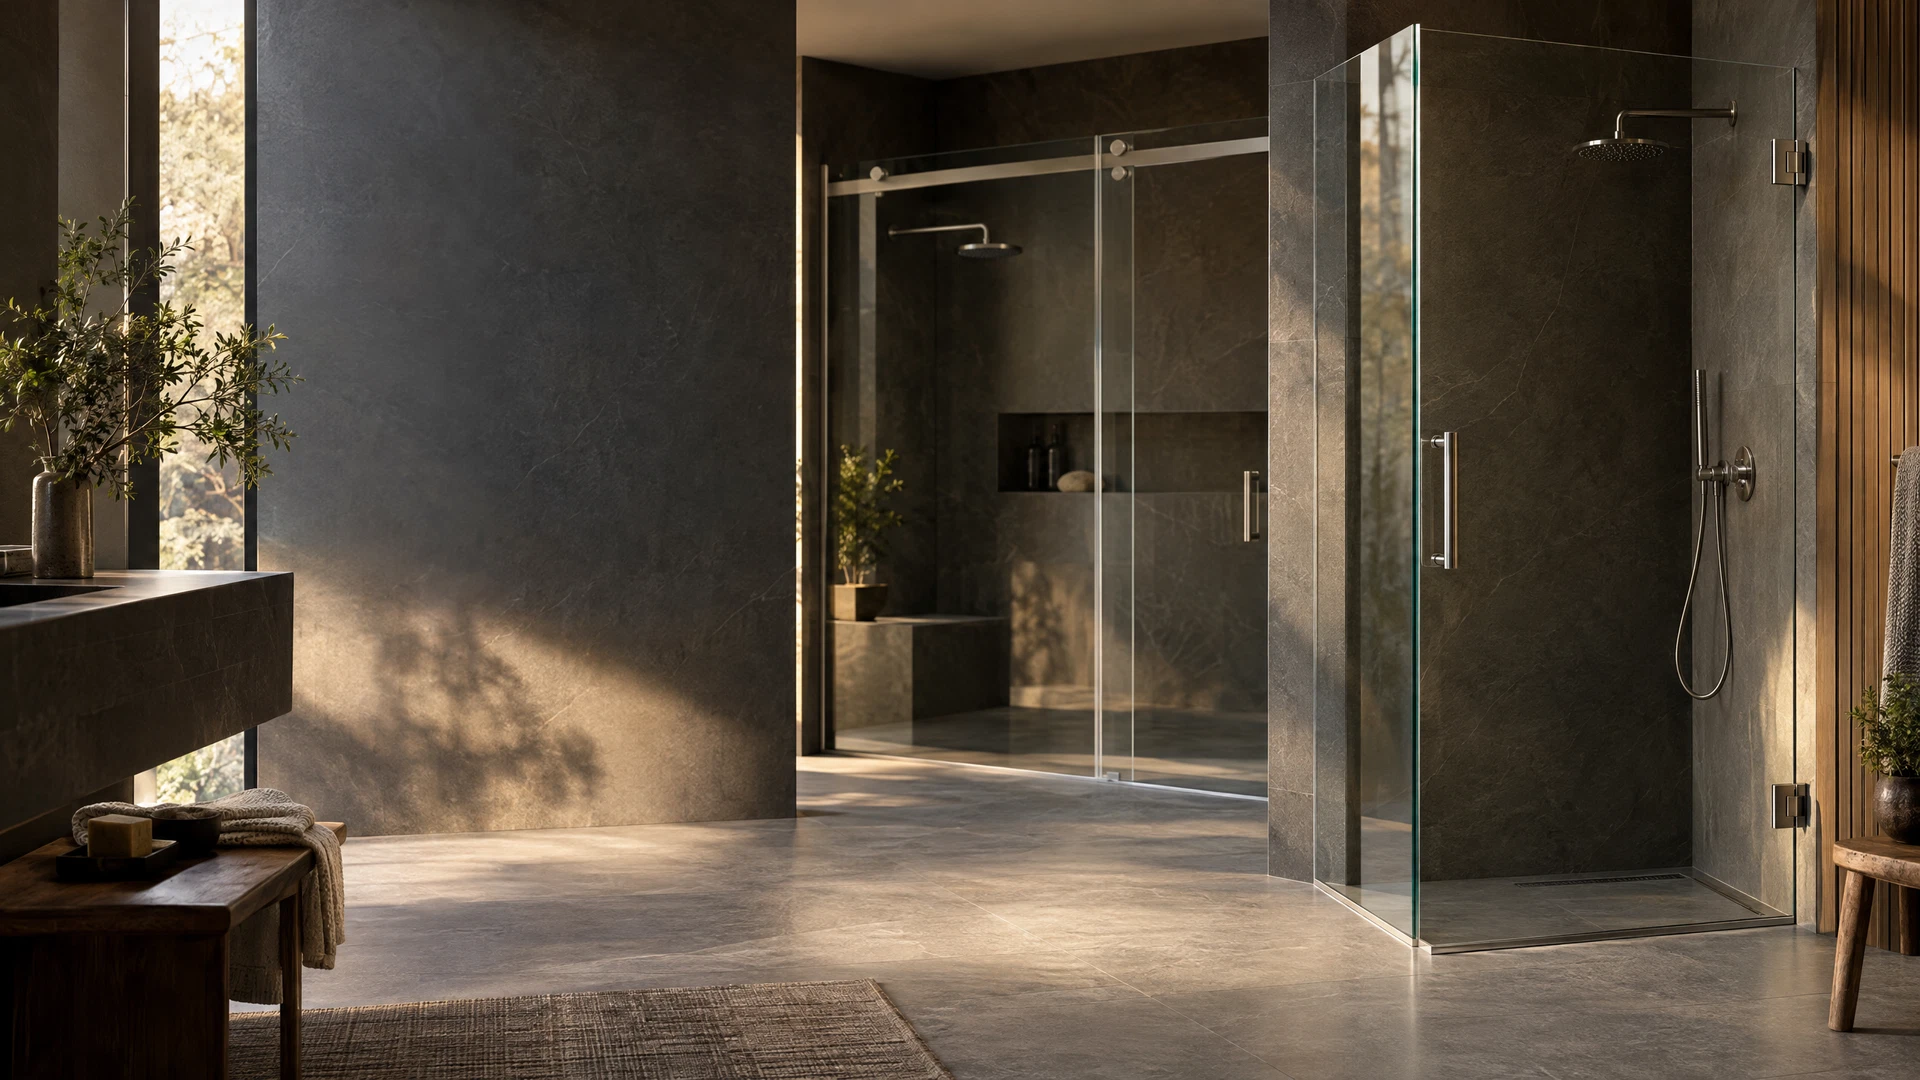
Three layouts get confused with each other, so first the terms. A corner enclosure uses two walls: glass runs along the two open sides of a shower in a corner, meeting at a glass-to-glass corner. An L-shaped enclosure wraps a return — the glass turns a corner part-way along one side, typically where the shower sits against a nib wall, a bath end or a part-height structure, so the glass line itself is L-shaped rather than straight. A 3-sided enclosure stands against one wall only, with glass on the other three sides — the most glass, the most fixing engineering, and the layout that gives the freestanding, in-room shower its look.
Whichever of the three, the planning starts with what cannot move. Walk the room and mark the fixed points: the basin and its pedestal or vanity edge, the WC pan and cistern, the bathroom door and the arc it swings through, any window, towel rail or radiator. Those points define the free floor the enclosure can use and the space its door can swing into. Catalogue enclosure sizes are drawn for empty rooms; real bathrooms are planned around their furniture.
Where the entry belongs
The entry is the layout’s most-used decision, and it belongs on the side facing open floor. An entry that opens toward the basin or the WC delivers you, wet, into the room’s tightest corner. An entry facing the free floor gives you a step-out zone — the place the mat goes, where you dry off, within reach of the towel.
Two entry patterns dominate corner layouts. Entry on one return side keeps the corner itself as fixed glass: the door sits in one of the two runs, the corner panel braces the build, and the shower keeps its full internal corner for standing away from the spray. Diagonal corner entry — the door set across the corner at an angle — looks like it saves space and sometimes does, but it cuts the shower’s internal corner off, narrows the standing zone, and puts the door’s seals on the angle closest to the spray’s natural line. In most rooms the return-side entry is the better plan; the diagonal earns its place only where the room’s shape genuinely leaves no other side free.
For L-shaped and 3-sided layouts the same logic applies with one more consideration: the longer the glass line, the more choice you have — and the entry should be placed at the point on that line furthest from the shower head’s direct spray, so the door or opening is not the first thing the water hits.
Door swing vs basin/WC clearance
A hinged door does not need the width of the door; it needs the whole quarter-circle the door sweeps, kept empty for as long as the enclosure exists. In a corner layout that arc usually reaches toward exactly the things bathrooms put near showers — the basin at one side, the WC at the other. The check is literal: mark the door’s arc on the floor with tape, at the true door width, and see what it crosses. A swing that clips the basin edge or passes within a hand’s width of the WC is a layout that will annoy daily and chip glass eventually.
Three outcomes follow from the tape test. The arc is clear — a hinged door is the plan, hung on whichever side the layout’s sequencing (below) supports. The arc is blocked but the enclosure line has length — the answer is usually sliding shower glass doors along the longer run, or a door repositioned to the other return. The arc is blocked and the runs are short — a short hinged door with a fixed panel beside it, or a rethought entry position, rather than a door shrunk below a comfortable clear opening (around 600mm is a typical minimum to aim for; treat the figure as indicative, not a promise).
One more swing to test, and the one most often missed: the bathroom’s own door. If the room door swings inward toward the enclosure, check its arc against the enclosure’s door arc — two doors that can meet mid-swing will, usually with someone in the shower.
Inside the enclosure, the shower head’s position belongs to this section too. An entry — door or opening — placed directly in the head’s firing line sends spray at the seals and out of any gap. Offset the entry from the spray where the layout allows; where it cannot be offset, expect the door choice and sealing to have to work harder.
Panel sequencing and fixing points
Panels in a multi-sided enclosure are not interchangeable pieces; they are sequenced so the build gets stronger as it goes together, and the sequence is decided at layout stage because it fixes where the door can hang.
The usual order: the fixed panel against the wall goes first, fixed into the wall and floor with clamps or a channel. The return panel comes next, meeting the first at the corner and braced to it glass-to-glass — that corner junction is the build’s backbone, and on longer runs a support clamp or bar back to the wall keeps the free end honest. The door is hung last, and from the soundest fixing available: off the wall where the layout allows, or off a fixed panel that is itself fully braced. What a sound layout never does is hang a heavy door off an unbraced panel and let the corner absorb the movement — the flex shows up as seal gaps and hardware wear within the first year of use.
Fixing points need something solid behind the tiles. Wall fixings that land on hollow stud or crumbling substrate are a layout input, not an install-day surprise: if a planned fixing line falls on a weak section of wall, the panel split moves so the fixings land on structure. The 3-sided layout is the demanding case — with only one wall, the two outer corners carry the build, and the sequencing plus bracing is what stands between a rigid enclosure and one that drums and flexes. This is also where layout hands over to system: the hinge-side detail for corner doors is its own subject within the hinged system, and the track layout for sliding corners within the sliding system — the layout plan tells those systems where their hardware has to live.
Common layout mistakes
- Placing the door for symmetry. The pretty elevation — door centred, panels equal — swings into the basin. Layout follows arcs and entries, not symmetry.
- Entry in the firing line. The door or gap placed directly opposite the shower head, so every shower tests the seals at full pressure.
- Hanging the door off the weakest panel. The door sequenced onto an unbraced return because it “fit the drawing”, and the whole corner working loose in slow motion.
- Forgetting the bathroom door. Two arcs, one collision, discovered on the first morning.
- Planning to catalogue sizes. A corner drawn as a neat 900 × 900 in a room whose walls are out of square — multi-sided glass is measured to the true room, and the layout is drawn from those measurements, not the brochure rectangle.
Frequently asked questions
What is the difference between a corner and an L-shaped enclosure?
Walls. A corner enclosure sits in a corner and uses two walls, with glass closing the other two sides. An L-shaped enclosure follows a glass line that itself turns a corner — usually because one side of the shower runs partly along a wall or structure and partly in open room. The planning rules are the same; the L simply has more line to place the entry on.
Can the door go on either side of a corner enclosure?
In principle, yes — the door can sit in either return. In practice the room decides: the entry belongs on the side facing open floor, with a swing arc that clears the basin and WC. Usually one side passes both tests and the other fails one of them, which makes the choice for you.
Does a 3-sided enclosure need a support bar?
Typically, yes — with only one wall to fix to, the outer corners need bracing, and a support bar or clamp back to the wall is the usual way the free ends are kept rigid. The exact bracing is part of the system’s engineering, but plan the layout expecting it rather than treating it as an optional extra.
Hinged or sliding for a corner enclosure?
It is a clearance question first. If a hinged door’s arc is clear, hinged is simple and seals well at the corner. If the arc is blocked, sliding along the longer run answers it without swing space. Our comparison of hinged vs sliding shower glass works through the two systems in full; the layout test above tells you which of them your room can take.
How wide should the entry be?
Wide enough to step through comfortably with the door fully open — around 600mm of clear opening is a typical minimum to plan around, and more is better where the layout allows. Treat that as an indicative planning figure: the entry width is set by your panels and door at measurement, not by a catalogue number.
Talk to us about your enclosure layout
If you are planning a corner, L-shaped or 3-sided enclosure, message us on WhatsApp on +971 52 443 2655 with photos of the bathroom from the doorway and the shower corner, plus the rough sizes of the two walls the shower sits against. We will tell you honestly where the entry belongs in your room, whether a hinged door’s swing survives your basin and WC, and how the panels should sequence — before any glass is measured.
This guide is part of our Shower Glass Installation series. Next: Shower Glass for Small Bathrooms: Partition Ideas That Don’t Eat the Room →

